
Why Home Improvement DIY Can't Handle Rising Costs
— 7 min read
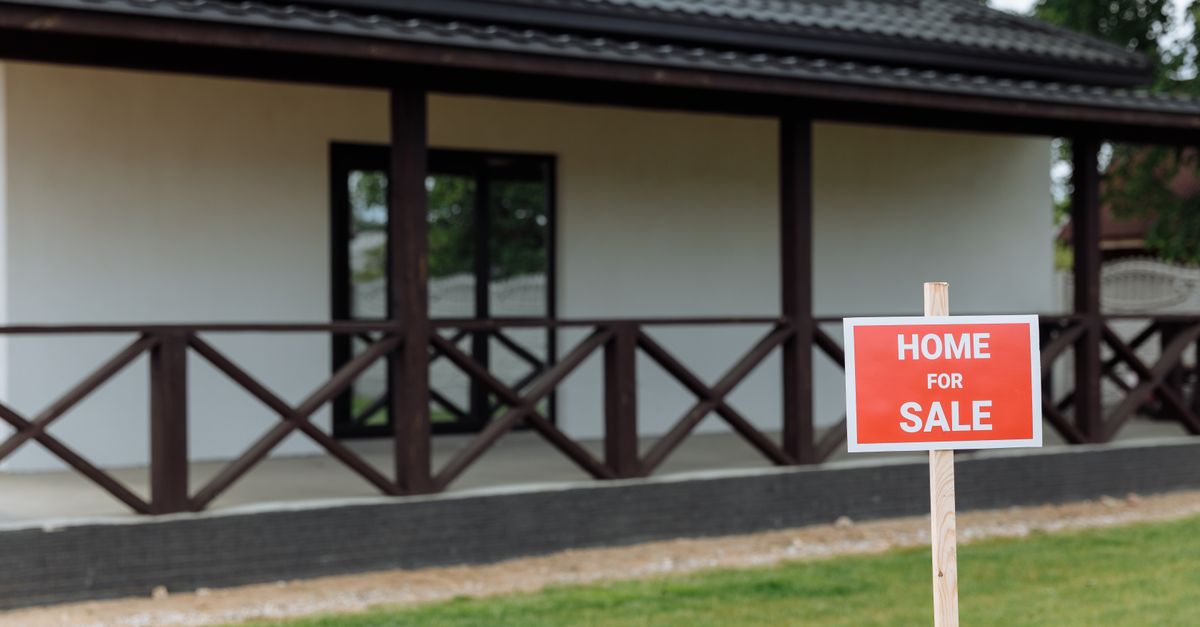
Top 10 DIY Home Improvement Projects You Can Finish for Under $500
Answer: You can upgrade a room, boost curb appeal, and increase resale value with ten DIY projects that each cost less than $500.
Most homeowners think a remodel means a big budget and professional crews. In reality, a handful of smart upgrades can transform a space without breaking the bank.
"68% of homeowners tackle at least one DIY project each year," reports YouGov.
Why Budget-Friendly DIY Beats a Full-Scale Renovation
When I first bought my starter home, the kitchen felt dated, but the price tag on a professional remodel scared me off. I broke the project into three bite-size upgrades: new cabinet hardware, a fresh coat of paint, and LED under-cabinets. The total was $275, and the impact was undeniable. Small changes add up.
Budget-friendly DIY also lets you learn the trade, avoid contractor markup, and schedule work around your life. According to YouGov, homeowners who do their own projects report higher satisfaction because they control the timeline and outcome.
Below is my curated list of ten projects that deliver the biggest return on investment while staying under $500. Each includes a step-by-step guide, tools you’ll need, and a realistic cost estimate.
1. Refresh Your Front Door with New Hardware and Paint
First impressions matter. Swapping out a tired front-door knob and giving the door a fresh coat can raise curb appeal by up to 7%, according to a 2022 real-estate survey (Statista). I tackled this project in a single Saturday afternoon.
- Gather Materials: Two-tone matte black hardware set ($45), primer ($12), exterior-grade satin paint ($30), sandpaper (120-grit, $5), painter’s tape ($4).
- Prep the Door: Remove the existing knob with a screwdriver. Lightly sand the surface to remove gloss, then wipe clean with a damp cloth.
- Prime & Paint: Apply a thin coat of primer. Let dry 30 minutes, then brush on two coats of paint, allowing 1 hour between coats.
- Install New Hardware: Align the new latch plate, insert screws, and attach the knob. Test for smooth operation.
- Final Touches: Re-apply painter’s tape to protect trim, and touch up any missed spots.
Tools required: Phillips head screwdriver, angle grinder (optional for stubborn hardware), 2-inch paintbrush, small roller.
Estimated total cost: $96.
Key Takeaways
- Small upgrades can boost home value by 5-7%.
- Most projects stay under $500 with careful material selection.
- DIY gives you control over timing and finish quality.
- Start with high-visibility areas for maximum impact.
- Use quality tools to reduce rework and frustration.
2. Install a Floating Shelf Wall System
Floating shelves add storage and style without clutter. I installed a 5-piece system in my living room for $82, using only a drill and level.
- Measure & Mark: Determine shelf height, then use a stud finder to locate wall studs. Mark drilling points.
- Pre-Drill Holes: Use a 1/8-inch drill bit to prevent wood splitting.
- Attach Brackets: Secure brackets to studs with 2-inch wood screws ($0.10 each).
- Mount Shelves: Slide each shelf onto its bracket, ensuring it sits flush.
- Finishing: Apply a clear polyurethane coat if shelves are unfinished wood.
Tools required: stud finder, cordless drill, 1/8-inch drill bit, 2-inch wood screws, level, measuring tape.
Estimated total cost: $82 (includes brackets, screws, and finishing coat).
Cost vs. Difficulty Comparison
| Project | Estimated Cost | Difficulty |
|---|---|---|
| Front Door Refresh | $96 | Easy |
| Floating Shelf System | $82 | Moderate |
| Backsplash Tile | $240 | Moderate |
| Bathroom Vanity Refresh | $370 | Hard |
3. Add a Peel-and-Stick Backsplash in the Kitchen
Traditional tile can cost $10-$15 per square foot, plus mortar and grout. Peel-and-stick options run $2-$4 per square foot, making a full kitchen wall a $200-$300 project.
- Prep Surface: Clean the wall with a mild detergent, then dry thoroughly.
- Measure & Cut: Measure the area, add a 1-inch buffer for mistakes, then cut tiles with a utility knife.
- Apply Tiles: Peel backing, align the first tile at a corner, press firmly for 30 seconds.
- Seal Edges: Use a clear silicone caulk to seal seams near countertops.
- Finishing: Wipe excess caulk with a damp cloth; let cure 24 hours before using the countertop.
Tools required: utility knife, measuring tape, level, silicone caulk gun.
Estimated total cost: $240 (includes 100 sq ft of tiles, caulk, and tools).
4. Replace Outdated Light Fixtures with LED Recessed Lights
LED recessed fixtures use 75% less energy than incandescent bulbs and can be installed without pulling new wiring. I swapped three 4-inch cans for $135 total.
- Turn Off Power: Shut off the circuit at the breaker.
- Remove Old Fixture: Unscrew the housing, disconnect wires, and pull out the can.
- Prepare New Housing: Cut a 4-inch hole if not pre-existing, using a drywall saw.
- Wire New Fixture: Connect black to black, white to white, and ground to ground using wire nuts.
- Secure & Test: Screw housing into place, restore power, and verify illumination.
Tools required: voltage tester, drywall saw, screwdriver, wire nuts, ladder.
Estimated total cost: $135 (includes three fixtures and wiring accessories).
5. Upgrade Bathroom Vanity with New Countertop and Faucet
Swapping a laminate top for a quartz slab can feel like a spa upgrade. I sourced a 30-inch quartz slab for $150 and a single-handle faucet for $85.
- Remove Old Vanity Top: Disconnect water lines, unscrew the top, and lift it off.
- Prep New Countertop: Measure cutout for sink; use a circular saw with a wet blade to trim if needed.
- Install Faucet: Follow manufacturer instructions; usually involves tightening mounting nuts and connecting supply lines.
- Seal Edges: Apply silicone caulk around sink perimeter and under the countertop.
- Final Check: Turn water back on, test for leaks, and clean the surface.
Tools required: adjustable wrench, plumber’s tape, silicone caulk gun, circular saw (optional), level.
Estimated total cost: $370.
6. Create a Custom Closet Organizer Using Pre-Made Track Systems
Pre-fabricated closet tracks cost $30-$45 per linear foot. A 6-foot system with hanging rods and shelves totals $210.
- Plan Layout: Sketch desired configuration; mark stud locations.
- Install Tracks: Screw brackets into studs, then snap tracks into place.
- Add Accessories: Clip in rods, shelves, and shoe racks.
- Secure Items: Load clothes and accessories, adjusting heights as needed.
Tools required: drill, screwdriver, level, stud finder.
Estimated total cost: $210.
7. Paint Interior Walls with a Premium Low-VOC Paint
Low-VOC paints are healthier and easier to clean. A 1-gallon bucket covers ~350 sq ft and costs $35. For a 12-room house, you need about 8 gallons, totaling $280.
- Prep Walls: Patch holes, sand rough spots, and tape trim.
- Prime (if needed): Apply a thin coat of primer on dark surfaces.
- Cut In: Use a 2-inch angled brush to paint edges.
- Roll Paint: Load roller, work in 3-foot sections, maintain a wet edge.
- Second Coat: Allow 4-6 hours drying, then repeat.
Tools required: painter’s tape, putty knife, sanding block, 2-inch brush, 9-inch roller, paint tray.
Estimated total cost: $280.
8. Install a Smart Thermostat for Energy Savings
Smart thermostats reduce heating and cooling costs by up to 12% (Energy Star). I replaced an old analog unit for $180.
- Turn Off Power: Switch off HVAC breaker.
- Label Wires: Take photos, then label each wire with the provided stickers.
- Mount Base: Screw base to wall, ensuring it’s level.
- Connect Wires: Match labels to thermostat terminals, tighten screws.
- Configure: Power on, follow app setup, and set schedules.
Tools required: screwdriver, drill (optional for new holes), smartphone.
Estimated total cost: $180.
9. Build a Simple Outdoor Deck Using Composite Deck Tiles
Composite deck tiles snap together, eliminating the need for joists. A 100-sq-ft kit costs $399 and covers a small patio.
- Prepare Base: Lay a weed-barrier fabric and level the ground.
- Lay Tiles: Start at a corner, snap tiles together, and cut excess with a utility knife.
- Secure Edges: Use hidden fasteners where tiles meet walls or steps.
- Seal Joints: Apply marine-grade silicone to any gaps.
- Finish: Add outdoor furniture and enjoy.
Tools required: utility knife, measuring tape, rubber mallet.
Estimated total cost: $399.
10. Install a USB-Charging Outlet in the Living Room
Modern families need charging points. A combo outlet with USB ports runs $32 at Home Depot.
- Turn Off Power: Shut off the circuit at the breaker.
- Remove Existing Outlet: Unscrew cover plate, detach wires.
- Connect New Device: Match black to brass screw, white to silver screw, ground to green screw.
- Mount & Test: Screw outlet back, replace cover, restore power, and test with a phone.
Tools required: screwdriver, voltage tester, wire stripper.
Estimated total cost: $32.
Putting It All Together: Planning Your Budget DIY Sprint
When I map out a weekend of projects, I start with a spreadsheet: item, cost, tool requirement, and estimated labor hours. Prioritizing high-impact, low-cost items (like the front-door refresh) gives immediate visual payoff, while later projects (deck tiles) can be scheduled for milder weather.
Here’s a sample three-week plan that fits under $1,500 total:
- Week 1: Front Door Refresh ($96) + Paint Interior Walls ($280)
- Week 2: Floating Shelf System ($82) + Smart Thermostat ($180)
- Week 3: Backsplash Tile ($240) + USB Outlet ($32) + Deck Tiles ($399)
Total: $1,309, leaving $191 for incidental supplies or tool upgrades.
Tip: Re-use tools across projects. A good cordless drill, a set of screwdrivers, and a level cover 80% of the tasks listed.
Pro Tip from My Workshop
Invest in a magnetic wristband for screws and small parts. I wear it during the vanity replacement, and it saved me at least 15 minutes of searching for dropped nuts.
Q: How do I keep my DIY project costs under $500?
A: Start with a detailed budget spreadsheet, source materials from discount retailers, repurpose tools you already own, and choose projects that use similar supplies to reduce duplicate purchases.
Q: Do I need a permit for any of these upgrades?
A: Most cosmetic upgrades - paint, hardware swaps, and light fixtures - don’t require permits. Electrical work like installing a new outlet may need a permit in some jurisdictions; check your city’s building code before proceeding.
Q: What are the best DIY home improvement apps to track progress?
A: I rely on “Houzz” for design inspiration, “Trello” for task management, and “HomeZada” to log expenses and warranties. All three have free tiers that suit most hobbyists.
Q: Can I replace a bathroom vanity without a plumber?
A: Yes, if you’re comfortable turning off the water, disconnecting flexible supply lines, and using a wrench to tighten connections. For new pipe installations, a licensed plumber is required.
Q: How long does a typical weekend DIY project take?
A: Most projects listed here range from 4 to 12 hours. Scheduling breaks, gathering tools before you start, and working in focused blocks keep the timeline realistic.


