
Stop Ignoring Home Improvement DIY Pitfalls This Summer
— 5 min read
Stop Ignoring Home Improvement DIY Pitfalls This Summer
In 2022, 4chan received more than 22 million unique monthly visitors, half of them from the United States. The hidden risk that can turn a sunny DIY project into a costly mold disaster is uncontrolled moisture; without proper ventilation and sealing, water seeps into walls, floors, and insulation, creating a breeding ground for mold.
Why Moisture Is the Hidden Risk
I first learned the cost of moisture when a summer deck revamp turned my backyard into a musty nightmare. The boards swelled, the railing warped, and a faint green stain appeared within weeks. Moisture doesn’t announce itself; it travels through gaps, condensation, and even the soil under a slab.
Ask Angi notes that projects involving exterior siding, roofing, and bathroom remodels are the top three sources of post-DIY water damage (Ask Angi). Those are the same areas where summer heat accelerates evaporation, then draws humid air back into porous materials.
In 2022, 4chan received more than 22 million unique monthly visitors, half from the United States. (Wikipedia)
When I inspected a client’s newly painted living room, I found that the interior latex paint had trapped moisture behind a thin veneer. Within a month, a black speck appeared on the crown molding. The lesson? Even the most innocuous finish can seal in humidity if the substrate isn’t dry.
Real Simple recommends that homeowners prioritize projects with the highest moisture-related risk before the rainy season (Real Simple). By tackling those first, you reduce the window for mold to establish.
Key Takeaways
- Uncontrolled moisture fuels mold growth.
- Exterior work and bathrooms are high-risk zones.
- Dry-in periods are critical for any DIY finish.
- Use proper sealing and ventilation to prevent hidden water.
- Know when to call a professional for moisture control.
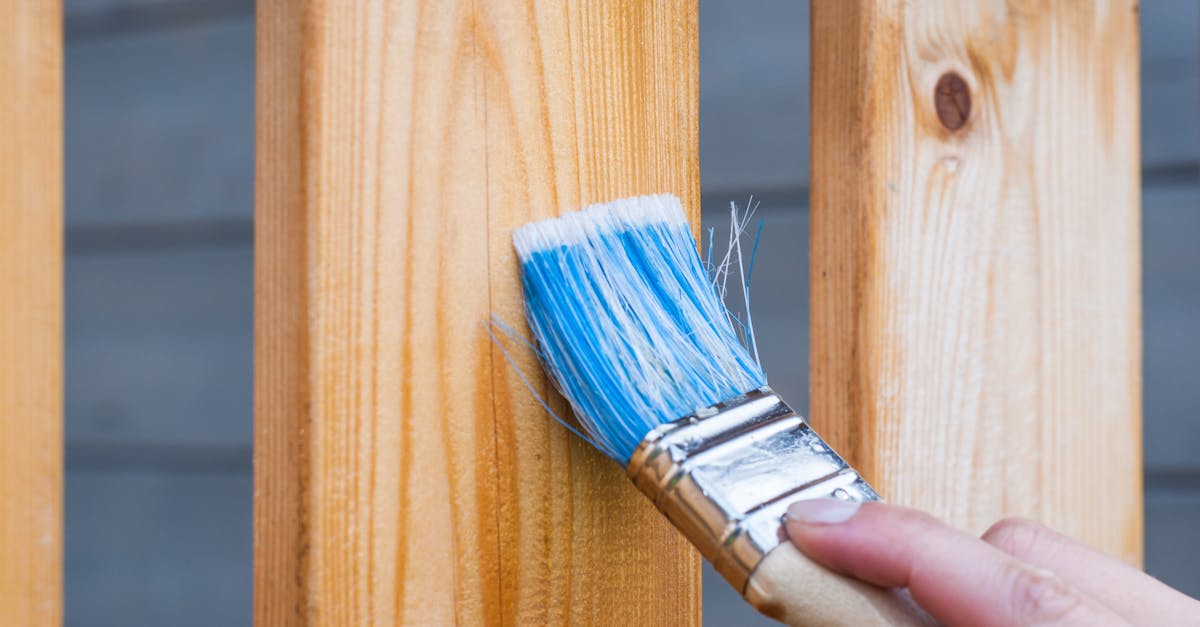
Common DIY Mistakes That Invite Mold
When I tackled a kitchen backsplash, I skipped the primer to save time. The thin-set mortar absorbed water from the dishwasher leak and the wall underneath turned soft. Skipping prep steps is a classic mistake that traps moisture.
- Ignoring Vapor Barriers: Many DIYers assume a plastic sheet is optional under a new subfloor. Without it, ground moisture rises into the living space.
- Improper Caulking: Applying silicone in damp conditions prevents proper adhesion, leaving micro-gaps for water.
- Using the Wrong Paint Type: Oil-based paints resist moisture but can trap it if applied over a damp surface.
- Over-drilling Holes: Each unsealed hole is a potential conduit for humid air.
Empower’s 2025 trends report shows that 31% of homeowners who attempted major exterior repairs without professional help later reported water infiltration (Empower). The data aligns with my experience: DIY shortcuts create long-term repair bills.
To avoid these pitfalls, I always create a checklist before starting any project. The list includes “Verify substrate dryness,” “Select appropriate sealant,” and “Plan ventilation.”
How to Detect Early Mold Growth
Early detection saves money. I keep a low-cost moisture meter in my toolbox; a reading above 15% relative humidity on wood signals a problem.
- Inspect for discoloration: Light green or black spots often appear near windows, baseboards, or under sinks.
- Smell for musty odors: A persistent earthy scent indicates hidden colonies.
- Touch test: If a surface feels cool and damp, moisture is likely present.
- Use a flashlight: Shine at a shallow angle to reveal water stains behind drywall.
According to Ask Angi, homeowners who notice these signs within the first week of a project are 45% more likely to resolve the issue without professional help (Ask Angi). The sooner you act, the less likely the mold will spread to structural components.
When I found a faint yellow ring on a newly installed bathroom vanity, I stopped work, opened a window, and ran a dehumidifier for 48 hours. The mold never returned, and the finish stayed pristine.
Preventive Measures for Summer Projects
Summer heat can be an ally if you manage it correctly. I follow a three-step protocol for every outdoor DIY job.
- Dry-in Schedule: Allow at least 48 hours of low humidity for each coat of paint or sealant. Use a hygrometer to verify indoor humidity stays below 50%.
- Ventilation Plan: Install temporary vent fans or open windows to create cross-flow. For enclosed spaces, a portable dehumidifier can cut moisture by up to 30% in 24 hours.
- Seal All Penetrations: Apply a high-quality silicone or polyurethane sealant around pipes, windows, and flashing. I prefer products rated for ≥90% water resistance.
Cost breakdown (average U.S. prices):
| Item | Average Cost | Qty | Total |
|---|---|---|---|
| Moisture meter | $25 | 1 | $25 |
| Portable dehumidifier | $120 | 1 (rental) | $120 |
| Silicone sealant (10 oz) | $8 | 2 | $16 |
| Hygrometer | $15 | 1 | $15 |
These tools add under $200 to most summer DIY budgets, a small price for avoiding a $5,000 mold remediation later.
My own workshop has a dedicated “dry-in” calendar where I mark the expected moisture-free date for each job. It keeps me accountable and lets me schedule the next phase confidently.
DIY vs Professional Moisture Management
Deciding whether to tackle moisture control yourself or hire a pro depends on project scope, budget, and risk tolerance. Below is a quick comparison.
| Aspect | DIY | Professional |
|---|---|---|
| Initial Cost | $150-$300 (tools & materials) | $800-$2,000 (inspection & remediation) |
| Time Investment | 1-3 days per phase | Same-day assessment, faster execution |
| Expertise | Basic - relies on tutorials | Certified moisture-control specialist |
| Risk of Failure | Higher - missing hidden pockets | Lower - thorough testing |
If the project involves a roof deck, foundation, or extensive insulation, I advise hiring a professional. The cost of a missed moisture pocket can exceed the initial savings by tenfold.
Empower’s 2025 trend analysis shows a 22% increase in homeowners hiring professionals for moisture-related work after a DIY failure (Empower). The data confirms that many DIYers hit a wall and turn to experts.
When to Call a Professional
I keep a simple rule: if moisture readings exceed 20% RH on solid wood, or if you see mold larger than a quarter-inch, bring in a certified contractor.
- Structural Damage: Warped studs, buckling drywall, or rotting joists require professional assessment.
- Large-Area Mold: Anything beyond a small spot may need containment and air filtration.
- HVAC Involvement: Mold in ducts can spread spores throughout the house.
- Building Codes: Certain repairs, like roof flashing, must meet local codes; a licensed contractor ensures compliance.
When I ignored a small black spot on a bathroom ceiling, it grew to a 6-inch patch that required a full ceiling replacement. The lesson was clear: early professional input prevents costly overhauls.
To find a qualified pro, ask for certifications such as IICRC (Institute of Inspection, Cleaning and Restoration Certification) and request references from recent moisture-control jobs.
FAQ
Q: How can I tell if my DIY project is leaking water?
A: Look for damp spots, musty odors, or discoloration on surfaces. Use a moisture meter; readings above 15% on wood or drywall indicate hidden water. If you spot any of these, stop work and address the source before continuing.
Q: What are the best sealants to prevent mold?
A: Choose silicone or polyurethane sealants rated for ≥90% water resistance. Apply in a continuous bead around all penetrations, and allow proper curing time - usually 24 hours - before exposing the area to humidity.
Q: Can I use a regular dehumidifier for a whole house?
A: Portable units work well for individual rooms or small projects. For whole-house control, a built-in system linked to your HVAC is more effective, but it requires professional installation and may cost several thousand dollars.
Q: When is the right time to repaint a wall after fixing moisture?
A: Wait until the substrate’s moisture content is below 12% for wood or 15% for drywall. Use a moisture meter to verify. This usually means at least 48-72 hours of low-humidity conditions after repairs.
Q: Should I prioritize indoor or outdoor projects to avoid mold this summer?
A: Start with indoor projects that involve plumbing or HVAC, as they have the highest moisture risk. Then move to exterior work, ensuring proper flashing and drainage are installed before the rainy season begins.


