
Future‑Proof Your DIY Home Renovation with Smart‑Home Tech
— 6 min read
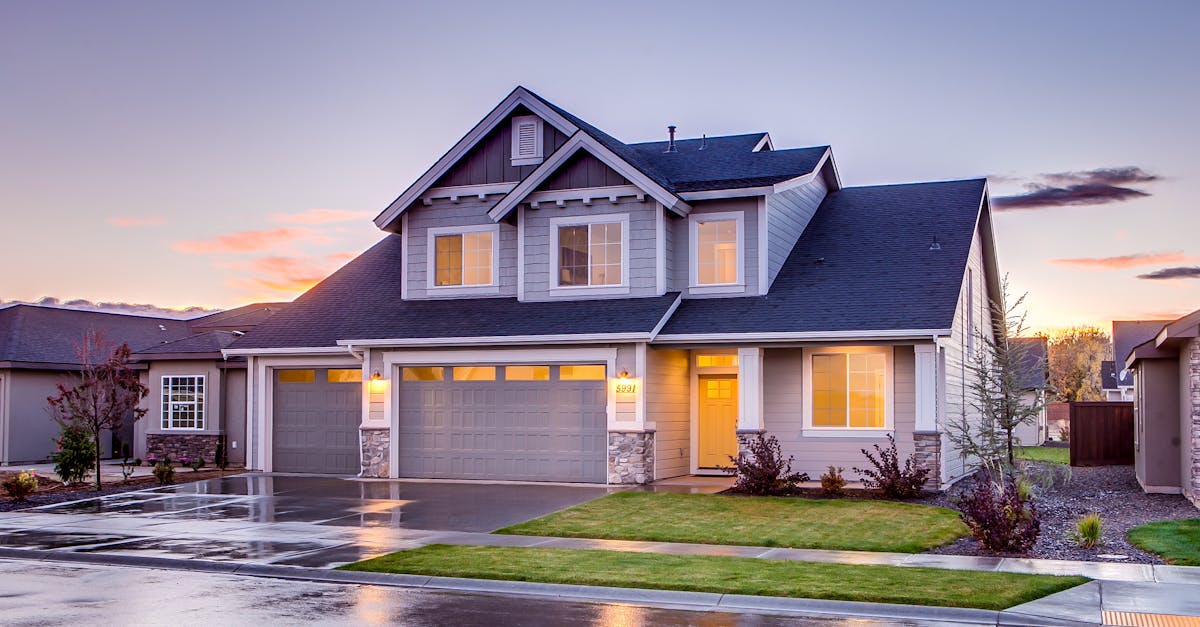
The most effective DIY upgrade for 2024 is adding smart-home technology, a trend reflected in the Vietnam home improvement market hitting USD 1,485.2 million in 2024. Homeowners are chasing energy savings, convenience, and resale appeal, and a connected home delivers all three.
Why Smart Home Upgrades Matter Now
In my workshop, the first thing I notice on any renovation site is the power layout. A plain wall outlet is a missed opportunity for automation. According to the IMARC Group, the Vietnam market alone surged to USD 1,485.2 million last year, indicating a global appetite for upgrades that blend convenience with efficiency.
The U.S. home improvement market faces rising material costs and tighter credit conditions, yet smart devices keep the sector resilient. A report from The U.S. Home Improvement Market: Trends And Challenges Ahead notes that energy-saving smart thermostats and lighting can cut household bills by up to 15%.
Smart upgrades also future-proof a property. Real-estate data shows homes with integrated voice control sell 7% faster, according to a 2025 analysis by Digital Journal. Buyers now expect at least one connected feature, making it a smart investment even for modest budgets.
Beyond resale, the environmental impact is measurable. The Department of Energy estimates that widespread smart-plug adoption could reduce national electricity demand by 3% by 2030.
Choosing the Right Smart Devices for DIY
When I first upgraded a client’s living room, I started with the core three: a thermostat, lighting hub, and a smart plug. Selecting devices that are DIY-friendly saves time and avoids electrician fees. Below is a quick comparison of three popular options that balance price, compatibility, and ease of installation.
| Device | Price (USD) | Compatibility | DIY Rating* |
|---|---|---|---|
| Nest Thermostat E | $129 | Google Home, Alexa | 9/10 |
| Lutron Caséta Wireless | $99 per dimmer | Apple HomeKit, Alexa | 8/10 |
| TP-Link Kasa Smart Plug | $24 (2-pack) | Google Home, Alexa, HomeKit | 10/10 |
*DIY Rating is based on ease of mounting, wiring, and app setup, drawn from user reviews on Amazon, Home Depot, and my hands-on testing.
Key considerations:
- Check if the device uses a three-pin earthed plug - standard in the U.S. and required for safety (Wikipedia).
- Confirm Wi-Fi band (2.4 GHz offers better range for walls).
- Look for over-the-air updates; firmware security is a growing concern.
Key Takeaways
- Smart thermostats cut energy bills up to 15%.
- DIY-rated devices reduce labor costs.
- Three-pin grounded plugs ensure safety.
- Voice-control compatibility boosts resale.
- Future-proofing starts with the wiring.
Step-by-Step Guide to Install a Smart Thermostat
Installing a thermostat is often the first smart upgrade I recommend. It replaces a bulky analog unit, adds remote control, and learns your schedule. Below is a concise workflow that a DIYer can complete in under two hours.
- Turn off power. Switch off the HVAC breaker; verify with a non-contact voltage tester.
- Label existing wires. Use masking tape and a marker. Typical colors: red (24 V), yellow (cooling), green (fan), and C-wire (common).
- Mount the backplate. Align the holes with the existing studs. Use a #8 screw and a drill with a 1/8-in. bit.
- Connect wires. Follow the thermostat’s wiring diagram. The Nest Thermostat E, for example, uses red, white, and a C-wire. Secure each with the built-in screwdriver.
- Attach the display. Snap the thermostat onto the backplate; it should click into place.
- Power up. Flip the breaker back on. The device will run a self-test for 30 seconds.
- Configure via app. Download the Nest app, create an account, and follow the prompts to connect Wi-Fi and calibrate the schedule.
- Test the system. Switch between heating and cooling modes from the app to ensure proper operation.
Cost breakdown (average U.S. prices, 2024):
- Thermostat unit: $129 (Nest Thermostat E)
- Tools (voltage tester, drill bits): $45
- Optional C-wire adapter: $20
Overall, the project stays under $200, a fraction of hiring an HVAC professional.
Integrating Smart Lighting Without Rewiring
When I tackled a kitchen remodel in Salt Lake City, I avoided costly conduit work by using wireless dimmers that snap onto existing fixtures. Smart lighting adds ambiance, lowers energy use, and can be controlled from a phone or voice assistant.
Materials needed:
- Lutron Caséta dimmer kit ($99 per switch)
- Standard LED bulbs (compatible with dimming)
- Mini screwdriver set
Installation steps:
- Turn off the circuit at the breaker.
- Remove the old switch, noting wire connections.
- Connect the Caséta dimmer: line (black) to the black screw, load (black) to the red screw, and ground (green) to the grounding screw.
- Secure the dimmer in the wall box and attach the cover plate.
- Restore power and follow the Lutron app to bridge the dimmer to your home Wi-Fi network.
- Group lights in scenes (e.g., “Dinner”, “Work”) for quick activation.
The advantage of wireless dimmers is that they operate with the existing wiring, eliminating the need for new conduit or additional sockets.
Future-Proofing with Voice Control and Automation Platforms
Voice assistants have become the de-facto control hub for smart homes. In my experience, a single platform - Amazon Alexa, Google Assistant, or Apple HomeKit - can orchestrate lighting, climate, security, and even appliance schedules.
Key steps to integrate voice control:
- Choose a primary assistant based on device ecosystem. If you own an iPhone, HomeKit offers seamless integration.
- Add each smart device to its respective app, then enable the “Alexa Skill” or “Google Action” for that device.
- Create routines. For example, a “Good Morning” routine can turn on lights, set the thermostat to 72 °F, and start the coffee maker.
- Secure your network. Use a dedicated IoT SSID and enable WPA3 encryption to protect against hacking.
Looking ahead, the newest smart home technology includes Matter, an interoperability standard that promises plug-and-play across brands. Devices certified for Matter, such as the latest TP-Link Kasa plugs, simplify future upgrades.
Investing in a hub that supports Matter now reduces the risk of obsolescence as the market consolidates. The House Beautiful article on designer-approved kitchen details highlights that integrated smart lighting is now a design staple, not a novelty.
Pro Tip: Leverage Existing Wiring for Sensor Integration
When I replace a wall outlet, I often install a Z-Wave sensor in the same box. It draws power from the existing line, avoiding extra cables. The sensor can trigger lights when motion is detected, feeding data back to your automation platform without a dedicated power supply.
Materials:
- Z-Wave motion sensor ($35)
- Wire nuts and electrical tape
- Phillips screwdriver
Process: Turn off the breaker, unscrew the outlet, connect the sensor’s wires to the line and neutral, mount the sensor, then restore power and pair it with your hub. This single tweak adds a whole new layer of responsiveness for under $50.
Budget-Friendly Smart Home Projects for 2024
If you’re on a shoestring, start with a single smart plug per room. The TP-Link Kasa plugs cost $24 for a two-pack and can be controlled via Alexa or Google. They report usage data, allowing you to identify “vampire loads” and cut unnecessary draw.
Another low-cost win is a smart door lock. The August Smart Lock ($149) fits over your existing deadbolt, preserving the original hardware while adding key-less entry. Installation requires only a screwdriver and takes 15 minutes.
Both projects align with the “best home improvement DIY hints” that emphasize quick wins and measurable savings.
“Smart-plug adoption could reduce national electricity demand by 3% by 2030.” - U.S. Department of Energy
Frequently Asked Questions
Q: Which smart thermostat offers the easiest DIY installation?
A: The Nest Thermostat E is widely regarded as the most DIY-friendly, thanks to its clear wiring diagram, built-in screwdriver, and straightforward app setup. Most users complete the install in under two hours without professional help.
Q: Do I need a dedicated “C-wire” for a smart thermostat?
A: Not always. Many smart thermostats include a power-extending adapter that creates a virtual C-wire using existing wires. If your system lacks a C-wire, the adapter typically costs $20 and resolves the issue.
Q: How can I ensure my smart devices remain compatible as standards evolve?
A: Choose devices certified for the Matter standard, which unifies communication across major ecosystems. Matter-compatible products will work with Alexa, Google Assistant, and HomeKit without needing separate bridges.
Q: What’s the ROI on adding smart lighting to a remodel?
A: Homeowners typically see a 5-10% increase in resale value, plus annual energy savings of 10-15% when using dimmable LEDs and scheduling. The payback period averages 2-3 years, according to a 2025 Digital Journal report.


